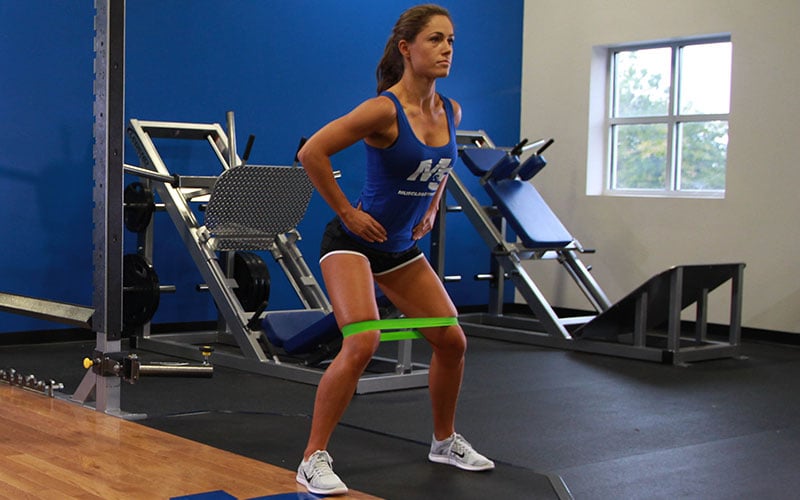
The lateral band walk exercise may look (and feel) a bit strange, but it’s one of the most effective ways to improve hip stability, strengthen the hip abductors (particularly the gluteus medius), and increase stabilization of the knee joint. It’s an essential exercise for warm-ups and injury prevention.
Also known as resisted side stepping or a lateral squat walk, this beginner-level move engages the deep muscles that stabilize the pelvis, improving overall body mechanics before a workout.
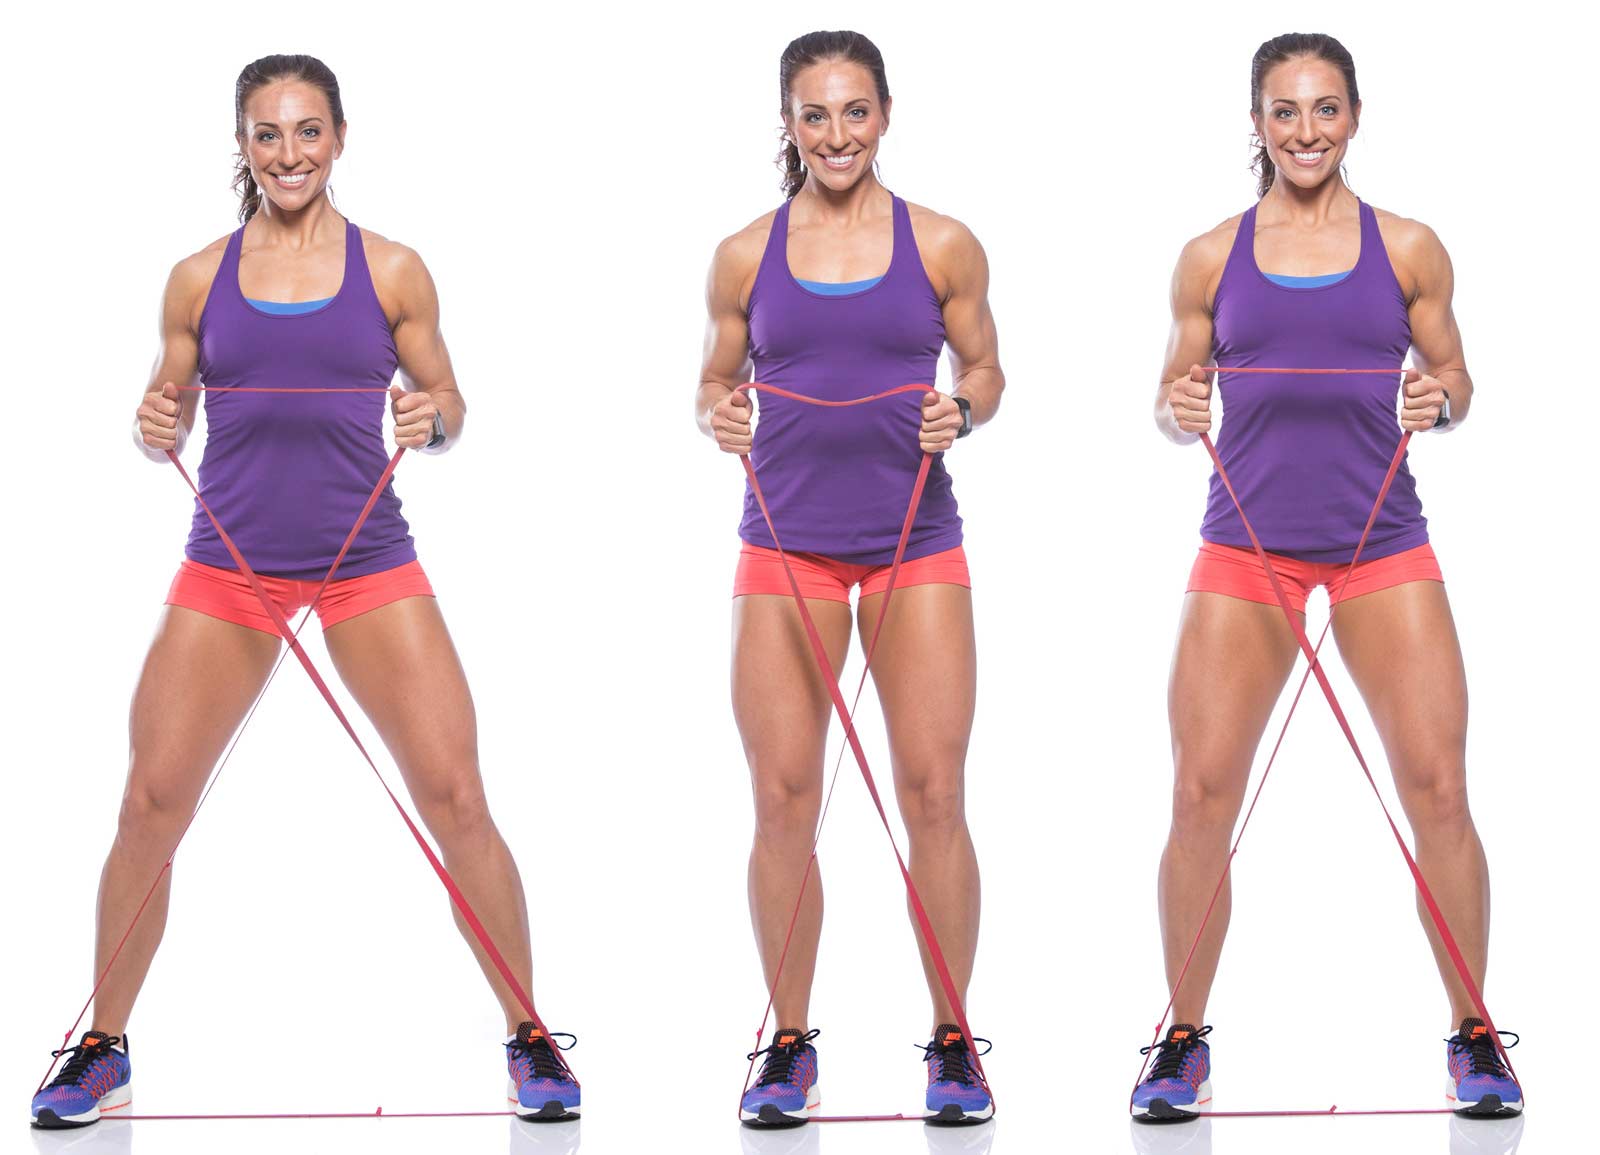
:max_bytes(150000):strip_icc()/35-3120456-Lateral-Band-Walk-GIF-4886c968ffc64cbeb8cd71aa92d551af.gif)
Benefits of the Lateral Band Walk
This exercise is particularly helpful for any athlete in sports that require running, jumping, pivoting, and twisting. Its benefits go far beyond the warm-up.
- Prevents Knee Injuries: A weak gluteus medius (a key hip abductor) often leads to knee pain and injury, including ACL tears. Strong abductors stabilize the hip and help maintain proper tracking in the knee joint, reducing lateral stress.
- Improves Biomechanics: It trains the correct movement patterns at the knee, preventing it from caving in or out (valgus or varus collapse). This is crucial when landing a jump safely.
- Combats “Sitting” Pains: Sitting for long periods can weaken the gluteus medius. This weakness is linked to common issues like patellofemoral pain syndrome and iliotibial (IT) band syndrome. Keeping these muscles strong is key to prevention.
- Activates Glutes: It’s an excellent “glute activation” exercise to use before squats, deadlifts, or running to ensure the correct muscles are firing.
Step-by-Step Instructions
- Choose Your Band: Select a loop resistance band with the appropriate strength. Band colors typically indicate resistance (e.g., yellow for easy, green for moderate, blue for hard, black for hardest). Most people can start with a moderate band.
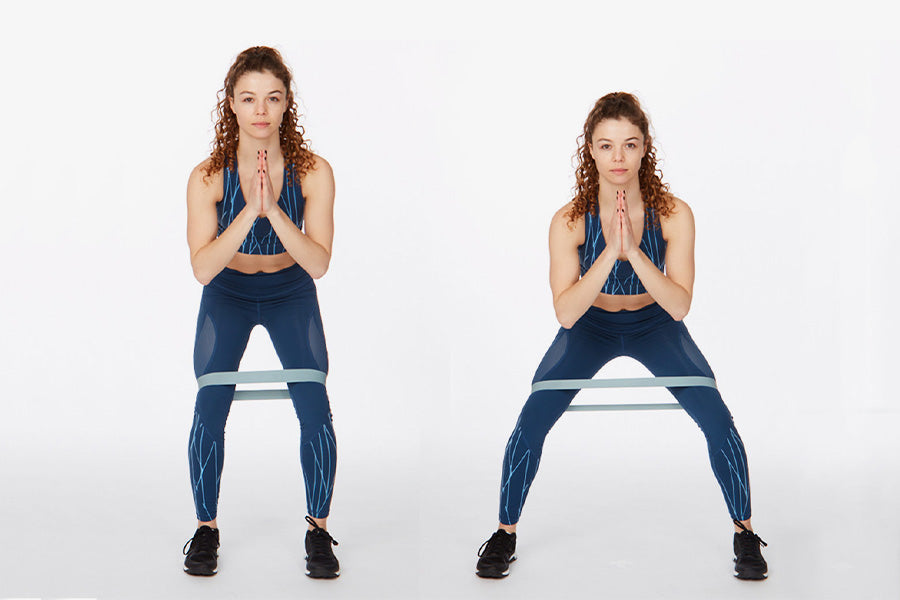
- Place the Band: Keeping the band flat (not bunched), place it around both legs. You can place it just above your ankles (harder) or just above your knees (easier).
- Get in Position: Stand with your feet shoulder-width apart, making the band taut but not stretched.
- Assume the “Half-Squat”: Bend your knees slightly and lower your hips into a half-squat or “athletic stance.” Keep your chest up and your back straight (do not round forward). Distribute your weight evenly.
- The Lateral Step: Maintaining this low, athletic stance, shift your weight over your left leg. Take a controlled, deliberate step sideways with your right leg, stretching the band.
- Control the Trail Leg: Slowly bring your left leg in, but *only* enough to return to a shoulder-width stance. Do not let your feet touch or the band go slack. This constant tension is key.
- Walk: Take 8-10 slow, controlled steps in one direction (e.g., to the right).
- Switch Directions: Without standing up, reverse direction and take 8-10 steps back to your starting point. This completes one set.

Common Mistakes to Avoid
To get the most from this exercise and avoid injury, watch out for these common errors.
- Hips Tilting or Rocking: Avoid tilting your hips up and down or swaying side-to-side. Your torso and hips should stay as level as possible, gliding smoothly. If you’re doing it right, you should feel a deep burn in your side glutes (gluteus medius).
- Knees Caving In (Valgus Collapse): A primary goal of this exercise is to *prevent* this. Actively push your knees outward, ensuring they stay aligned over the middle of your feet. Never let your knees buckle inward.
- Using Momentum: Do not sway or bounce. Move slowly and deliberately. Using momentum takes the focus off the target muscles and reduces the exercise’s effectiveness.
- Standing Up: Stay in the half-squat position throughout the entire set. Standing up between steps releases the tension on the glutes.
- Letting the Band Snap: Don’t let your trail leg snap back. Control the movement in both directions to maintain constant tension on the band.
Modifications and Variations
Need a Modification? (Make it Easier)
- No Band: Perform the entire movement without a resistance band to master the half-squat posture and lateral movement first.
- Lighter Band: Use the easiest band available (often yellow).
- Change Band Position: Place the band just above your knees on your thighs. This is significantly easier than placing it around the ankles as it shortens the lever.
- Isolate First: If you’re having trouble feeling the muscle, start with a side-lying hip abduction (clamshells or leg lifts) to build foundational gluteus medius strength.
Up for a Challenge? (Make it Harder)
- Stronger Band: Progress to a heavier band (e.g., blue or black).
- Add a Squat: Perform a full squat between each lateral step.
- Pair it: This exercise is an excellent warm-up. For a bigger challenge, superset it with a side plank to completely exhaust your hip stabilizers.
Safety and Precautions
If you have any pre-existing injury or condition affecting your hips, knees, or ankles, discuss this exercise with your doctor or a physical therapist before starting.
You should feel your muscles working, and they may burn after a few steps, but you should not feel any sharp, shooting, or joint-related pain. End this exercise immediately if you feel any sharp pain.