The Pelvic Curl, also widely known as the Glute Bridge in fitness and the Bridge Pose in yoga, is a deceptively simple yet profoundly effective exercise. It requires no equipment and serves as a powerful, low-impact, and dynamic movement that strengthens the posterior chain (the muscles along the back of your body), improves posture, and tones the lower body and core simultaneously.
It’s an underappreciated foundational exercise that relies on the coordination of the glutes, hamstrings, lower back stabilizers, and deep core muscles working in perfect harmony.
🎯 Why the Pelvic Curl is a “3-in-1” Workout Powerhouse
The Pelvic Curl strategically engages three primary muscle groups, maximizing efficiency in a single movement:
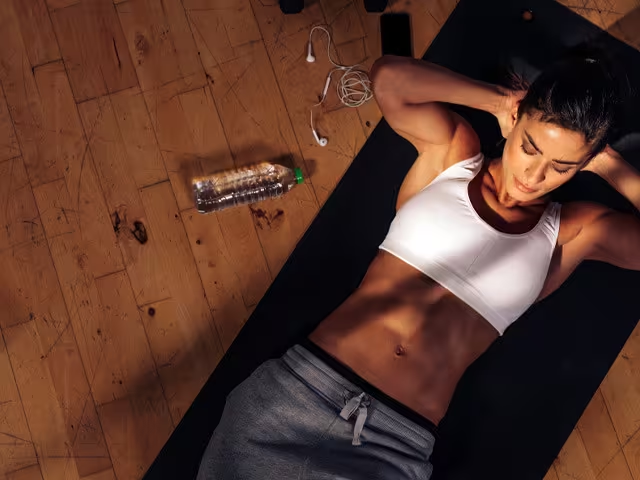
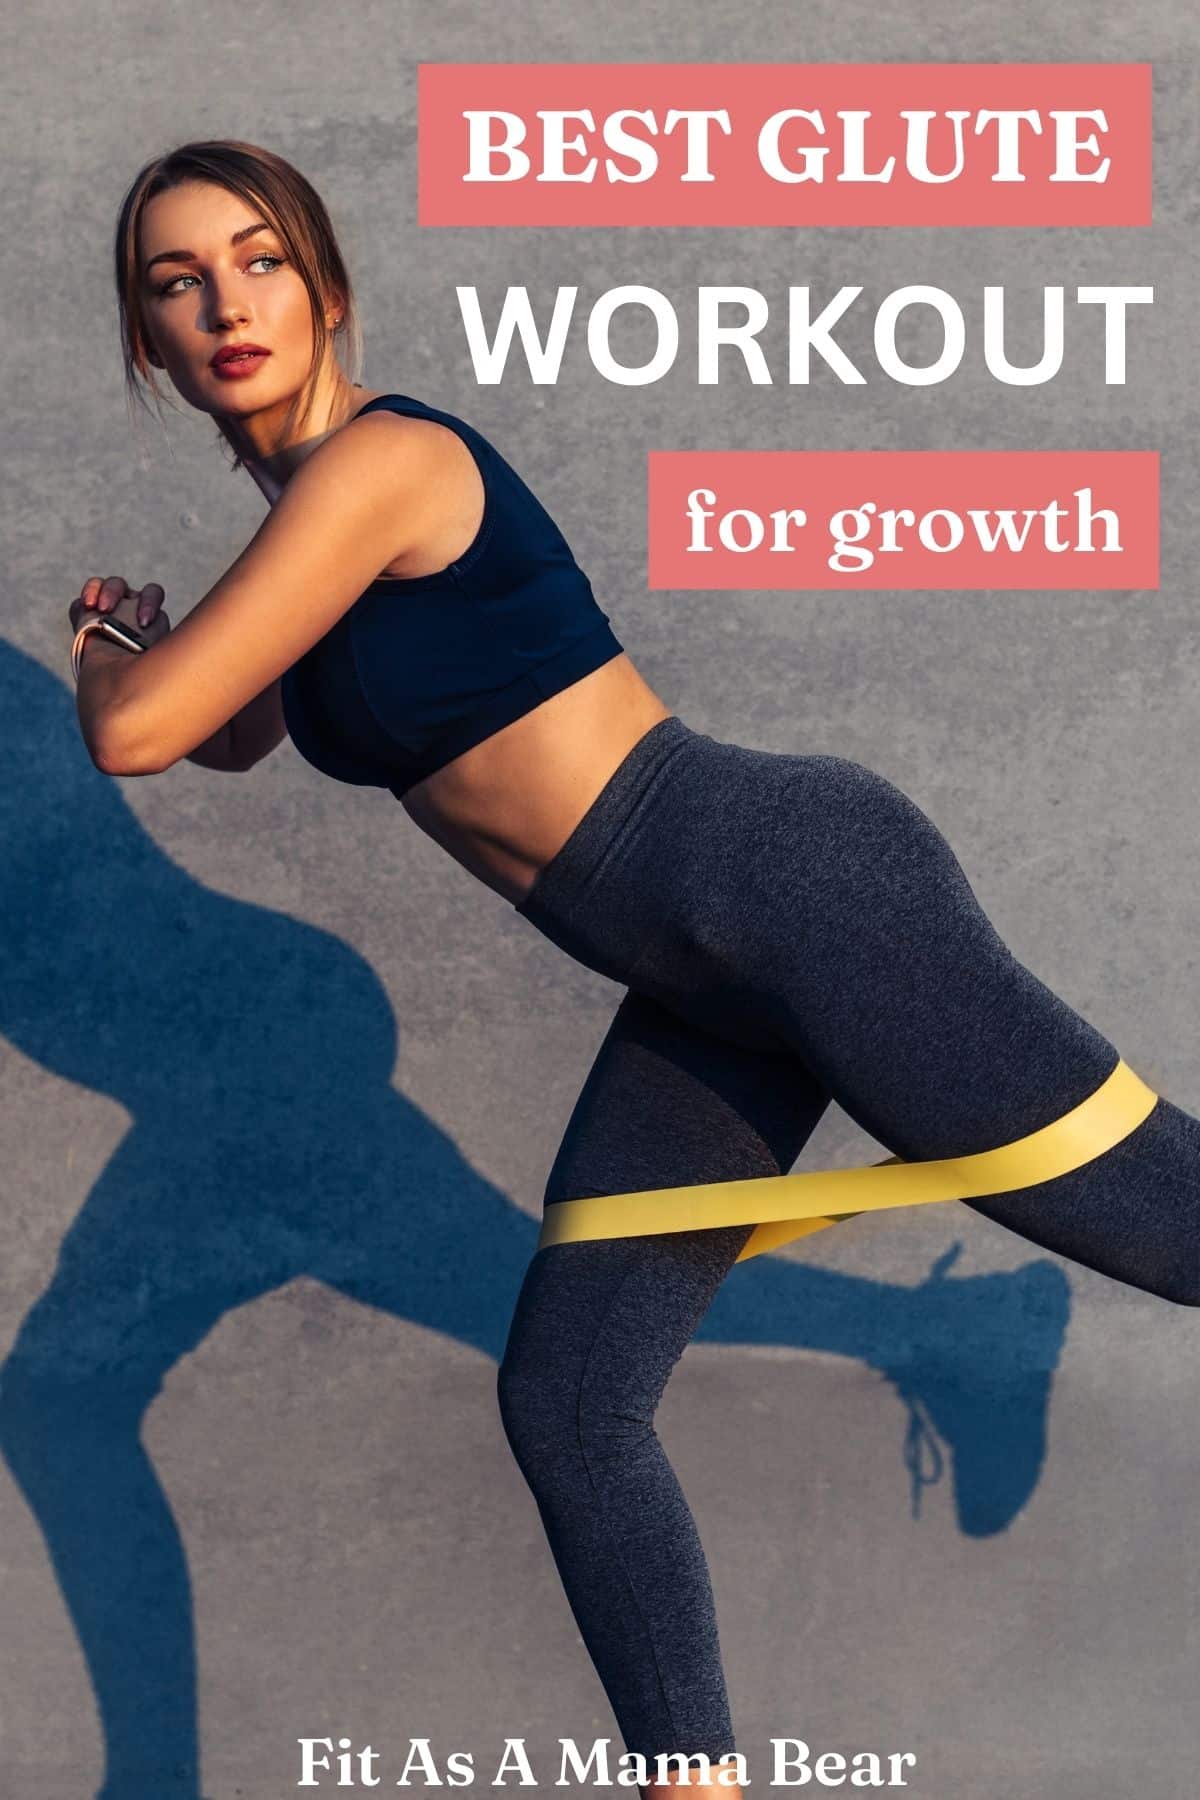
- Glutes (Maximus, Medius, and Minimus): Extensively utilized to initiate and complete the hip extension. This exercise is one of the best ways to sculpt, strengthen, and “wake up” the backside, crucial for athletic performance and fighting the effects of prolonged sitting.
- Abs & Core: The Transverse Abdominis and Obliques work continuously to stabilize the spine and pelvis as you articulate (roll) your spine up and down. This prevents hyperextension of the lower back and contributes to a tighter midsection.
- Legs (Hamstrings & Quadriceps): The hamstrings actively assist the glutes in the lifting phase, while the quadriceps maintain knee stability. The controlled lowering phase builds lean leg strength and endurance.
Bonus Benefits Across All Fitness Levels:
- Enhanced Pelvic Floor Function: The squeeze at the top can improve the strength and awareness of the pelvic floor.
- Reduced Lower Back Pain: It strengthens the surrounding muscles, offering support and stability to the lumbar spine.
- Improved Hip Mobility: Helps reverse the effects of tight hip flexors caused by sitting.
⚙️ How to Do the Pelvic Curl Exercise Perfectly (Step-by-Step)

Proper form is paramount to ensure your glutes, not your lower back, are doing the work. Move slowly and deliberately.
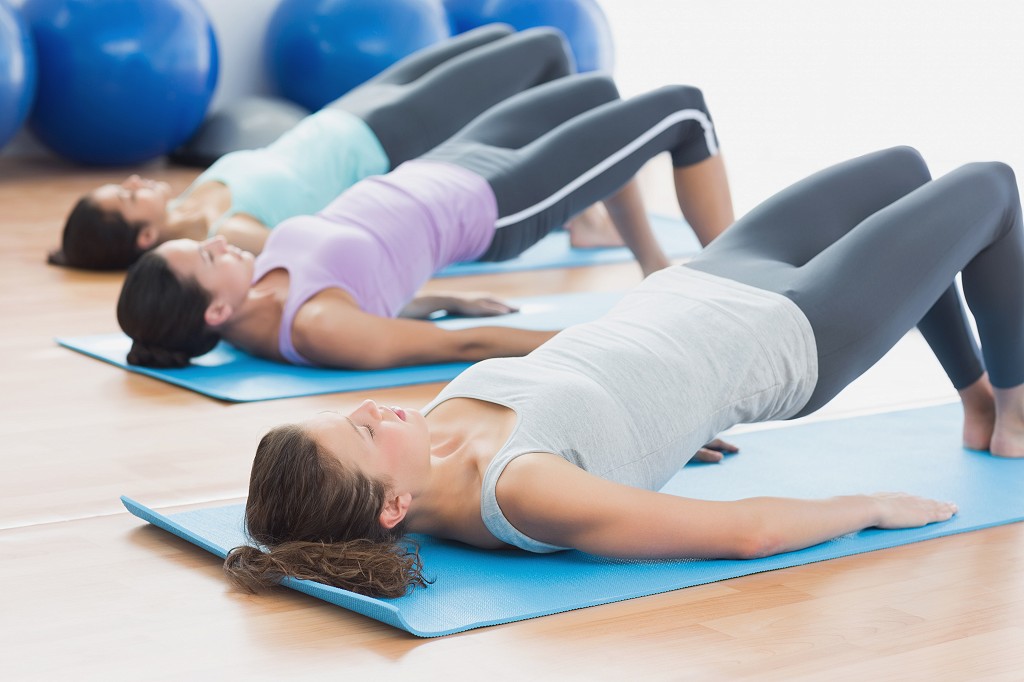
- Starting Position: Lie on your back with your knees bent and feet flat on the floor, about hip-width apart. Your fingertips should just about touch your heels. Arms rest at your sides with palms down.
- Core Engagement: Draw your belly button subtly toward your spine to engage your deep core. Maintain a long neck and a neutral spine (do not flatten your lower back to the floor yet).
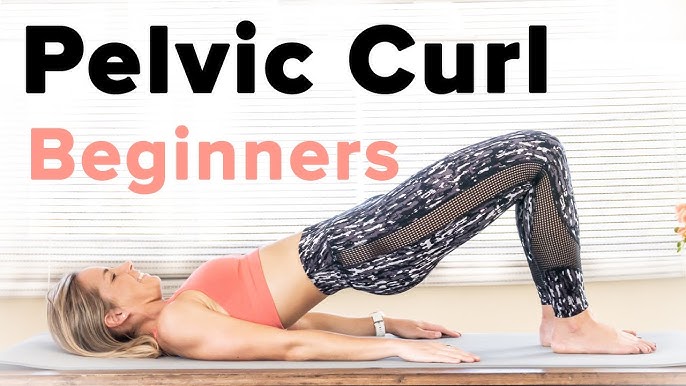
- The Lift (The Curl): Press down through your heels and squeeze your glutes to initiate the movement. Slowly roll your hips toward the ceiling, lifting your spine off the floor one vertebra at a time.
- The Peak: Continue lifting until your body forms a straight line from your shoulders to your knees. At the top, squeeze your glutes as tight as possible for 1 to 2 seconds. Ensure your hips are level—avoid dropping or pushing them too high (hyperextension).
- The Lowering (The Reverse Curl): Reverse the movement by slowly lowering your spine back to the floor, articulating one vertebra at a time, until you return to the starting position. Keep the movement slow and steady.
Reps & Sets
Focus on quality over quantity: Complete 2 to 3 sets of 12 to 15 reps. Ensure control during both the lifting and lowering phases—speed should never compromise form.
💡 Pro Tips for Maximum Results
- Mind-Muscle Connection: Visualize “pressing through the heels” and “squeezing the glutes” to maximize muscle fiber activation and power.
- Breathing: Exhale as you lift (the hardest part) and inhale as you slowly lower your hips back down.
- Avoid Common Mistakes: Watch out for hips sagging (too easy) or lifting too high (strains the lower back). Keep your chin slightly tucked to prevent neck strain.
🚀 Advanced Variations to Increase Intensity
Once you can perform 15 perfect basic Pelvic Curls, use these variations to challenge yourself further:
- Single-Leg Glute Bridge: Keep one leg extended straight up or out while performing the curl. This isolates and significantly increases the workload on the stabilizing glute.
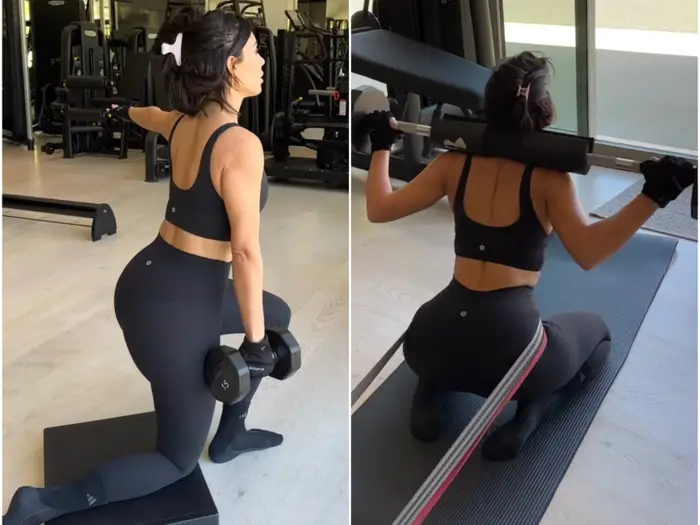
- Weighted Bridge: Place a dumbbell, kettlebell, or barbell across your hip crease. Hold it securely with your hands for a challenging external load.
- Marching Bridge: At the top of the bridge, lift one foot off the floor, then quickly lower it and lift the opposite foot, marching in place while maintaining hip height.
- Pulse Bridge: At the peak of the bridge, perform quick, small, controlled up-and-down mini lifts (pulses) to keep the glutes under constant tension.
✅ Who Benefits Most from the Pelvic Curl?
- Beginners: Provides a simple, safe entry point into lower body and core strength training.
- Office Workers: Counteracts the negative effects of sitting, targeting tight hips and underactive glutes.
- Postpartum Mothers: A gentle way to rebuild foundational core and pelvic floor strength.
- Athletes: Enhances hip drive and posterior chain power, crucial for running, jumping, and lifting heavy weights.
Don’t underestimate the power of the Pelvic Curl. This low-key move is a serious functional trainer. Incorporate this 3-in-1 wonder into your daily routine—it helps you stand and sit straighter, builds a stronger, perkier backside, and keeps your spine happy. No weights needed; just a mat and commitment.